So, you’ve paid your deposit and signed your solar installation contract, exciting times! But what actually happens next? For many homeowners in the UK, the solar installation process can seem a bit daunting at first. At Apex Doma, we believe in making things as clear and stress-free as possible.
This guide will walk you through exactly what to expect; from paperwork to scaffolding, grid approvals to handovers, so you feel fully informed and confident every step of the way.
Step 1: Confirming Your Details and Starting the Grid Application
Once your order is placed, our team will ask for your MPAN number. This is your Meter Point Administration Number, found on your electricity bill. It’s essential for registering your system with the national grid.
We’ll also check whether we need to submit a DNO (Distribution Network Operator) application. This depends on your system size and setup:
- G98 applications (for most systems under 3.68kW) are simple; we can install first, then notify the grid after.
- G99 applications (for most battery systems and larger installs) require prior permission from your DNO.
This process involves submitting detailed system specs (inverter type, battery capacity, panel layout) so your local DNO can run a network feasibility study. They’ll assess factors like local transformer load, existing solar systems nearby, and infrastructure capacity.
Once approved, they’ll issue an export capacity letter that defines how much electricity you’re allowed to export back to the grid at any one time.
Step 2: Project Planning and Scaffolding
When grid approval is in place, your dedicated project manager will contact you to schedule the installation.
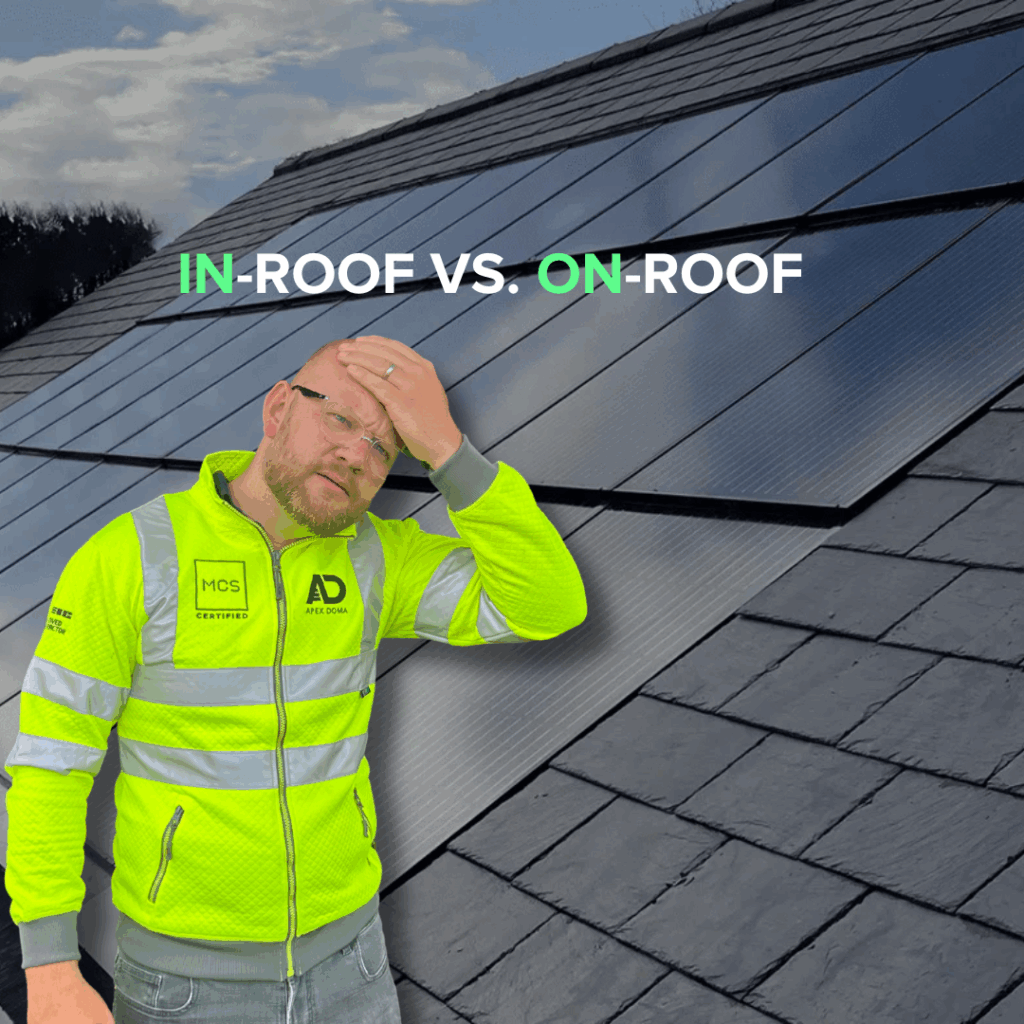
The first step on-site is usually scaffolding, which allows our teams to safely access your roof. If you’re having:
- On-roof solar panels, the scaffolding is usually up for a couple of weeks.
- In-roof systems, we may coordinate with your roofer to install scaffolding earlier for roof preparation.
📢 Pro tip: Let your neighbours know! If scaffolding crosses a boundary or causes disruption, a friendly heads-up avoids any unnecessary stress.
Step 3: Roofing and Solar Panel Installation
Next up is the roofing team (all employed in-house at Apex Doma) who will:
- Install mounting hooks and rails
- Feed the solar cable into your chosen inverter location
- Fit a bird guard to prevent nesting beneath panels
The roof work typically takes 1–2 days for an average 10-panel system.
Step 4: Electrical Installation (Inverter & Battery)
After the roof team, our qualified electricians will install:
- Your solar inverter (the brains of the system)
- Optional battery storage (if chosen)
For battery-only installations, there’s no roofing required so our electrical team handles everything.
If your system includes a G99 application, we’ll also resubmit final commissioning details after install to confirm everything was installed as per the original plan. Any last-minute design tweaks (e.g. fewer panels or different rails) are logged with the DNO.
Step 5: Testing, Commissioning, and System Handover
Once your installation is complete, we:
- Power down briefly to connect and test the system safely
- Fully commission your system
- Give you a one-to-one demo showing how everything works — from your app, to your inverter, to system controls
You’ll receive follow-up video guides from us showing how to:
- Track performance
- Set tariffs
- Maximise your export income
Step 6: Sign-Off, Payments & Certification
When you’re 100% happy, we ask you to sign a Satisfaction Note. This applies to both roofing and electrical work. After that:
- You’ll receive your final invoice (we never charge more than 60% upfront — we’re RECC-approved for customer protection)
- Any balance owed is due once the job is complete and you’re satisfied
💡 Your payment protection:
- Pay by credit card = Section 75 cover
- Pay by bank transfer = Insurance-backed protection via Hip Insurance
Step 7: Your Handover Pack & Smart Export Registration
You’ll receive a digital handover pack including:
- MCS certificate
- Building Control notice
- Commissioning documents
- DNO approval letters
These documents are vital for registering with the Smart Export Guarantee (SEG) which allows you to sell unused energy back to your supplier.
Important timelines:
- MCS/Building Control docs: ~14 days
- G98 DNO Registration: ~7–14 days
- G99 Registration: ~30 days (can vary by region)
Your energy supplier will usually place you on their standard export tariff first (often low!). Make sure you shop around for a better SEG rate once you’re registered.
Typical Installation Timeline (Standard Solar + Battery)
| Milestone | Typical Timeframe |
|---|---|
| DNO Application Approval (G99) | 30–45 days |
| Scaffolding Setup | Day 1 |
| Roofing Work | Days 2–3 |
| Electrical Work | Days 4–5 |
| Testing, Handover, Final Docs | Days 6–10 |
| G99 Final Registration (Post-install) | ~30 days post-completion |
Note: Times may vary depending on your DNO, roof type, product choice (e.g. Tesla Powerwall), or other trades on-site.
Final Thoughts: Trust the Process
We know the solar installation process can feel like a lot — but we’re here every step of the way.
✅ We handle all technical paperwork and applications
✅ Your funds are protected with insurance-backed guarantees
✅ You get full training, support and digital handover docs
✅ And we don’t rest until you’re happy
Got questions? We’re just a phone call or email away.